Chainplate Rebedding
The chainplates on our 1997 Caliber 40LRC seem to have never been re-bedded. We have evidence of a leak around the forward port chainplate. Caliber simply drilled a slot in the deck through the core and bedded the chainplates with some type of sealant. My plan was to encapsulate that slot with thickened epoxy so if they ever leak again, the water will run into the boat and not the core. I will also use butyl bedding compound so they are easy to re-bed in the future if needed. I only use Bed-It butyl tape sold by Compass Marine http://www.pbase.com/mainecruising/butyl_tape.

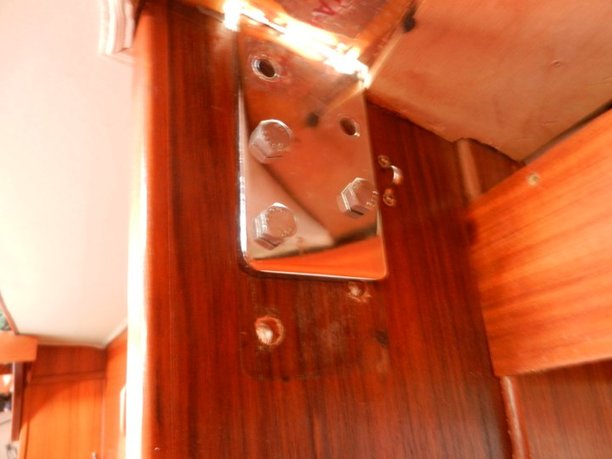
For removal I used some blocks of wood, a long crow bar and some chain with a shackle to lift the chainplates up after removing the bolts. The forward hex bolt is bolted through the deck while the aft one is just a lag bolt. I will fill both of these and re-drill. The aft hole will be tapped with a 3/8 x 20 tap and a bolt will be threaded in. Caliber used a lag bolt because the aft holes line up over the top of the bulkheads. They have since gone to a larger deck plate and through bolted the aft bolts.
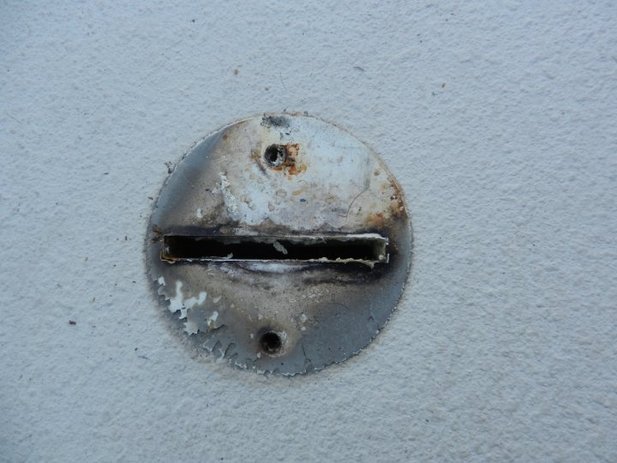
Here is what I found under the chainplates. The dark areas are dirt where the sealant failed. If the sealant had stretched enough it would not have separated from the deck plate and let dirt and water in. The butyl is much more flexible and should solve this issue.
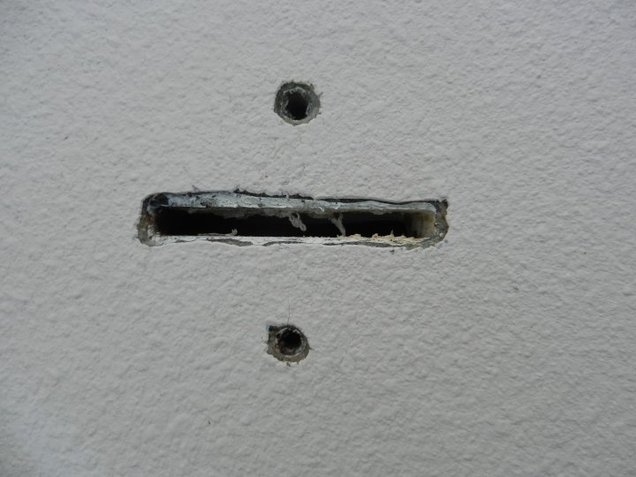
Here is the slot with the bedding compound removed from the deck. The white stuff you see in the slot is the sealant. I cleaned all of this out and routed out the core between the top and bottom skin of the deck.
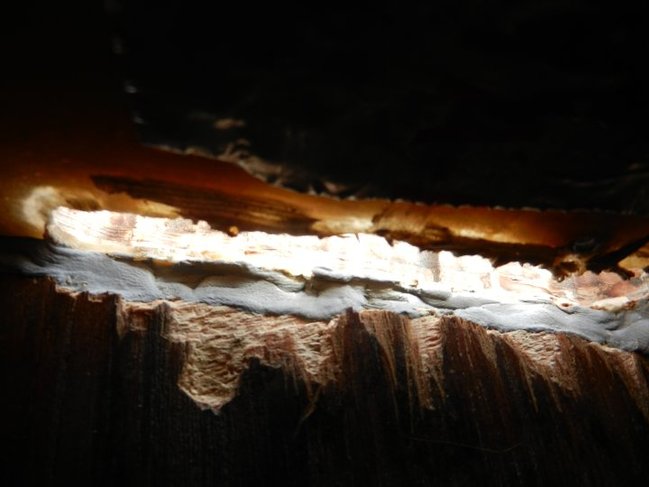
This is the slot from the inside. Caliber's workers were not gentle when cutting the slot but this area is hidden behind the chainplate and under the headliner. The other problem here is that Caliber never sealed the top of the bulkheads so any water getting in will run right into the top of the bulkhead. The gray you see here is the butyl that I added to encapsulate the epoxy when I inject it. You can also see light here through the bottom deck skin where I removed the core above.
Next, I wrapped the chainplate with 4 layers of nylon tape and used it as a form for the new slot. This will give the chainplate a little breathing room. I also mounted the chainplate one hole higher in the bulkhead so I would have room to insert the syringe and inject the epoxy. You can see where I dremmeled out some slots to insert the syringe.
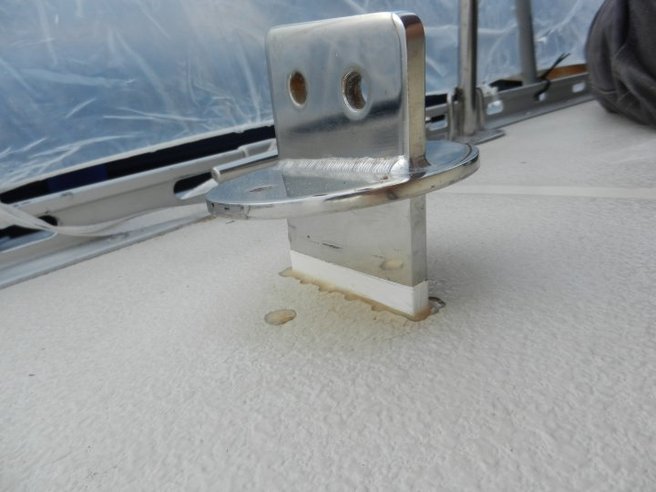
Here you can see how I temporarily mounted the chainplate one hole high.
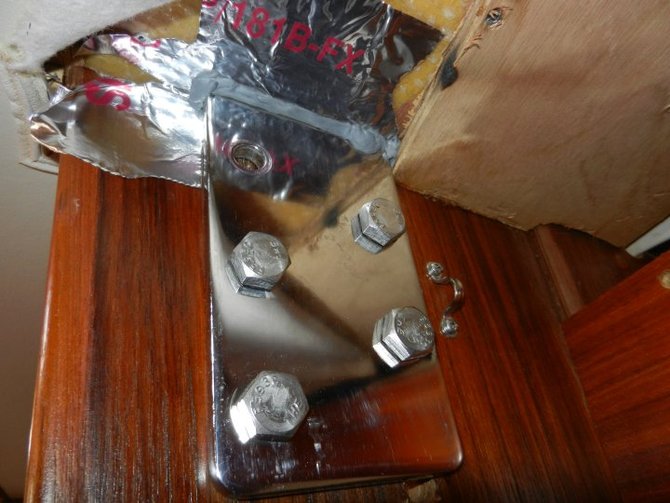
I sealed around the chainplate with foil duct tape and butyl so the epoxy does not run out before it has a chance to set up.
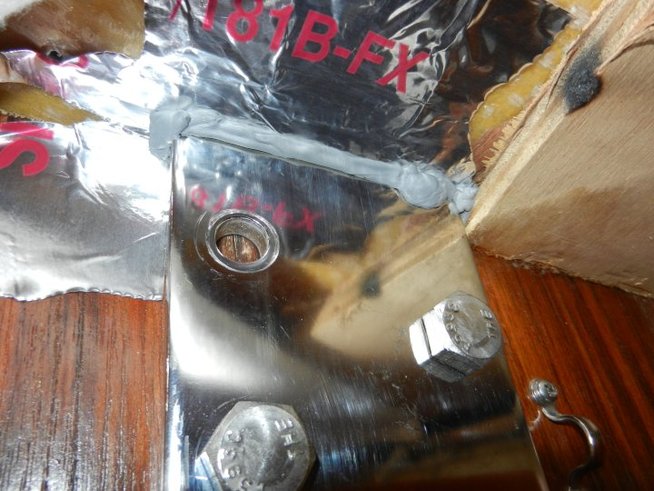
A close up of the lower seal while creating the new slot.
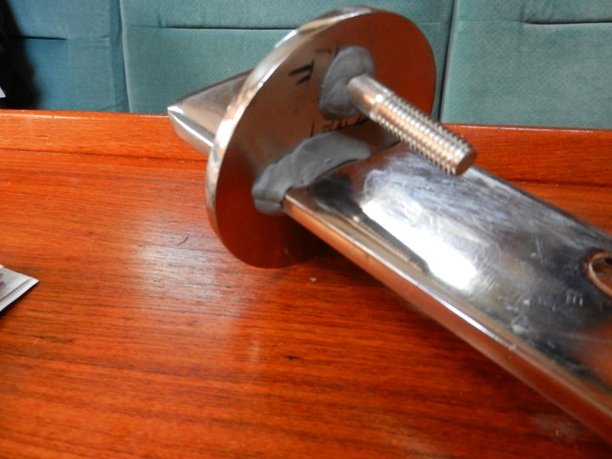
The new slot and through bolt holes are beveled back at about a 45° angle to allow the butyl to squeeze tight against the chainplate. Here I have applied the butyl around the bolt and the chainplate. I will also apply some thin butyl to the bottom of the deck plate. The previous lag bolt hole was over drilled and filled with thickened epoxy. Then I drilled and tapped them to a slighter shorter length. If water ever gets in, it will simply bottom out in the epoxy cavity and not get into the bulkhead. I only use Bed-It butyl tape sold by Compass Marine http://www.pbase.com/mainecruising/butyl_tape