Interior Teak Refinish
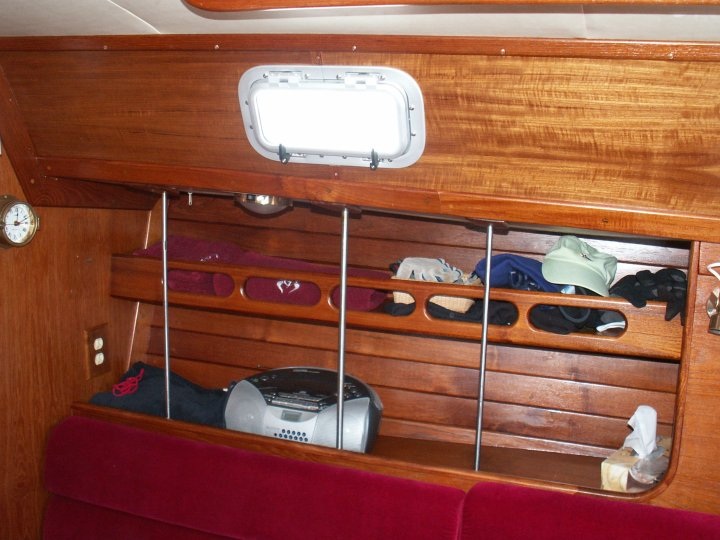
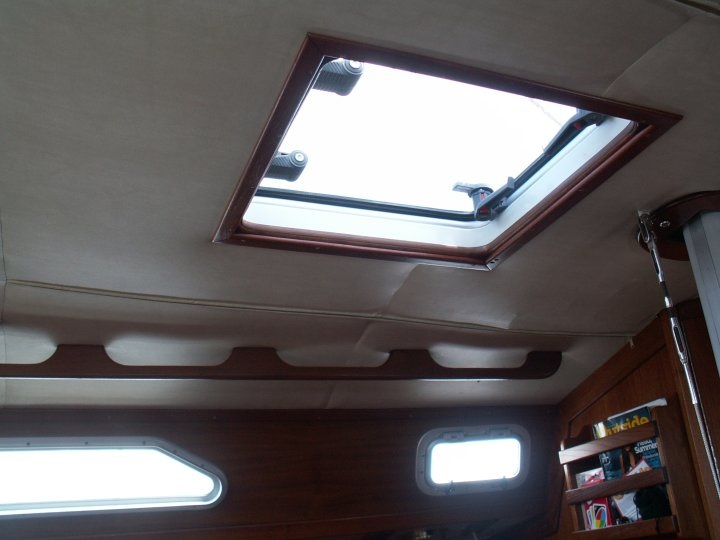
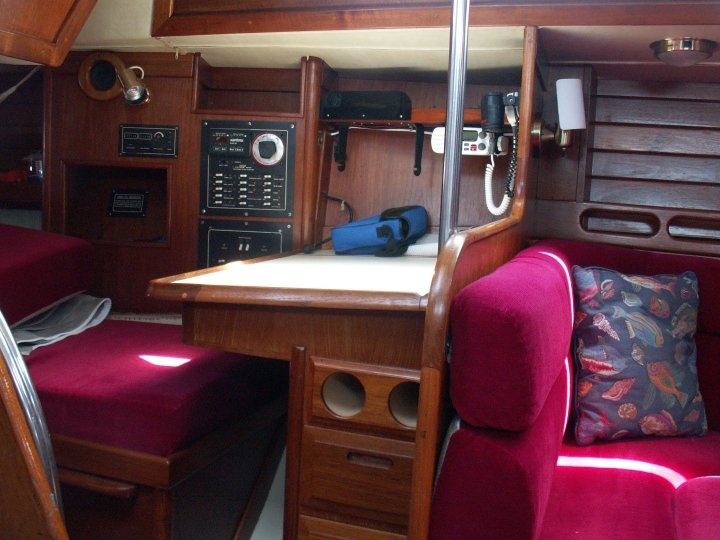
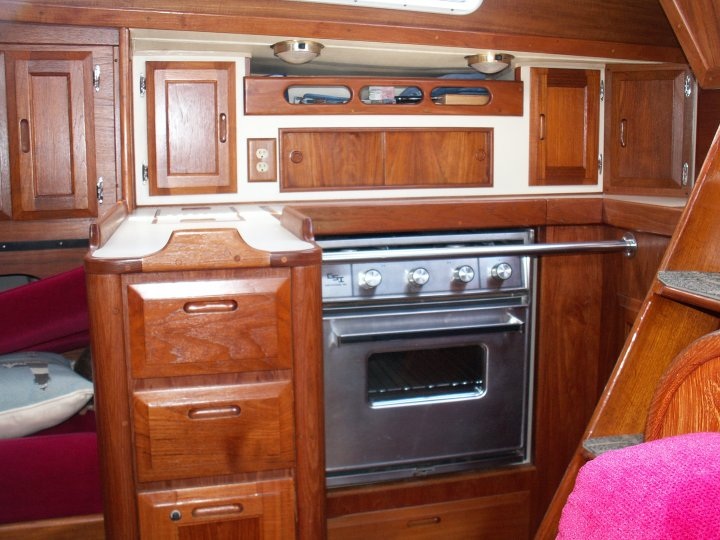
The teak interior in Cordelia had always been oiled with lemon oil. The combination of time, lemon oil and dirt had caused the teak to turn quite dark and red. We decided to strip all the wood and refinish using Varathane oil based poly semi gloss. Much of the teak veneer along the cabin top was no good because of rot in the plywood so we replaced or recovered all of it. We also replaced all the portlights and hatches as many of them were leaking. Click on an album to see specific photos.
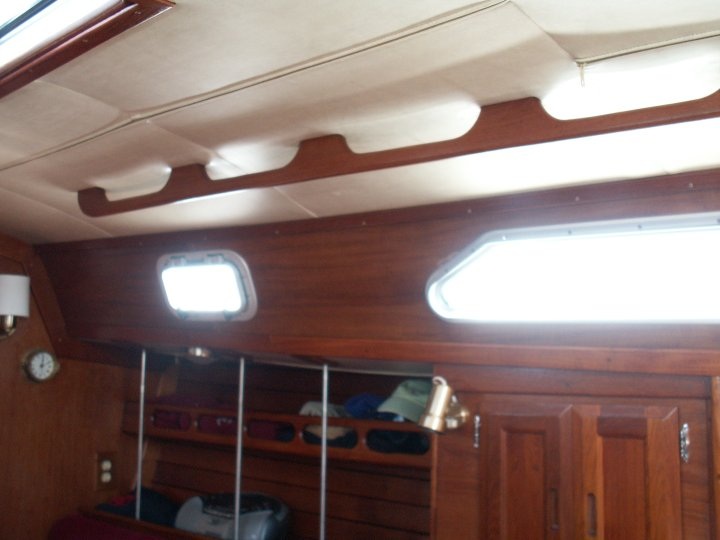
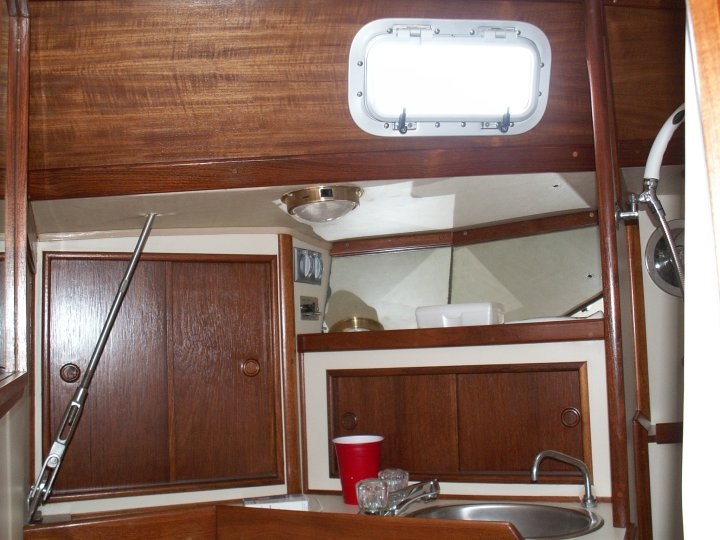
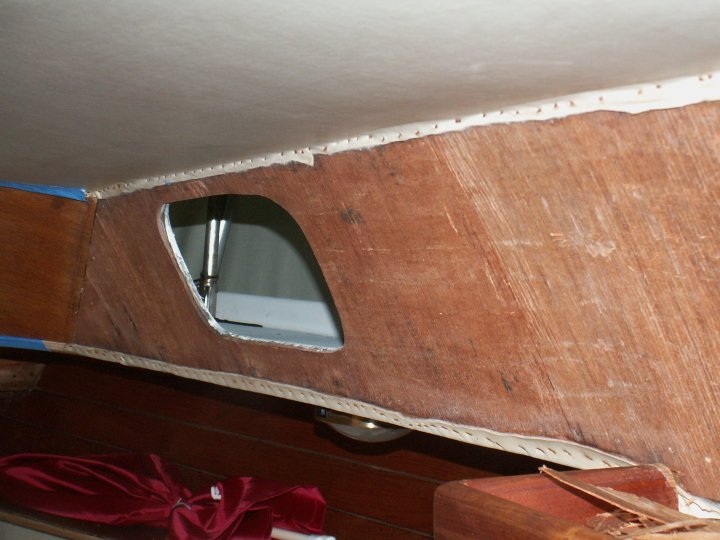
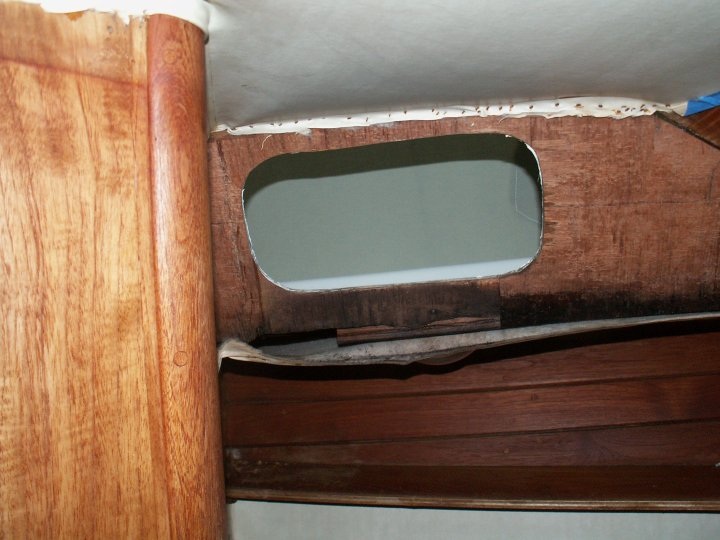
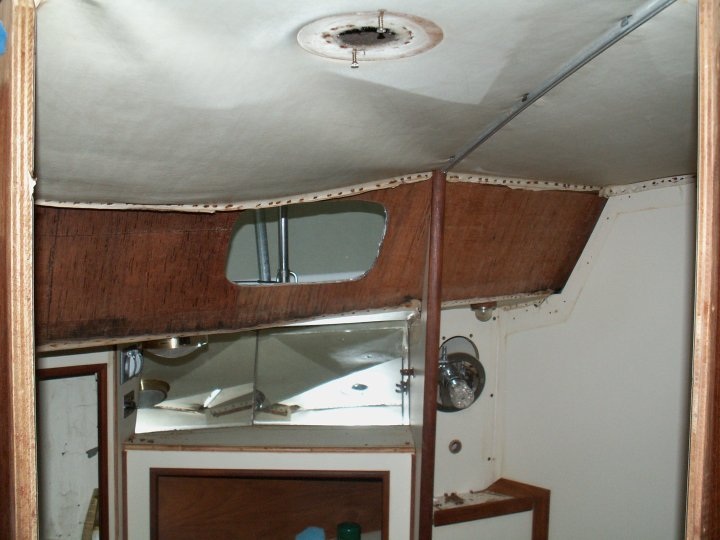
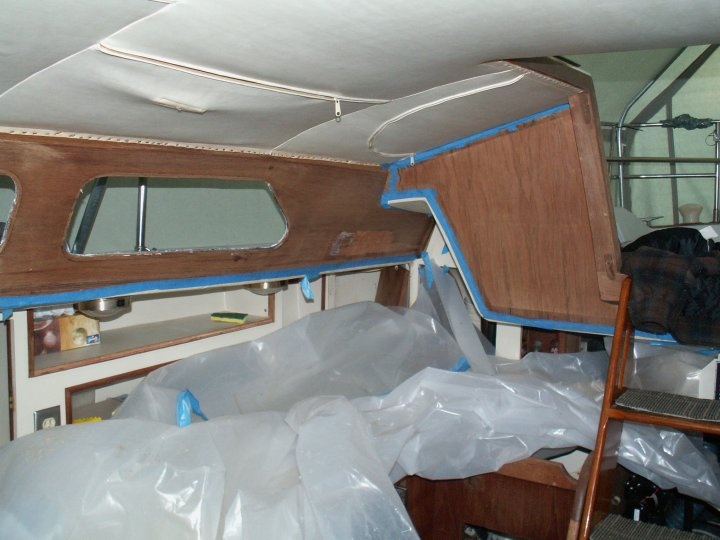
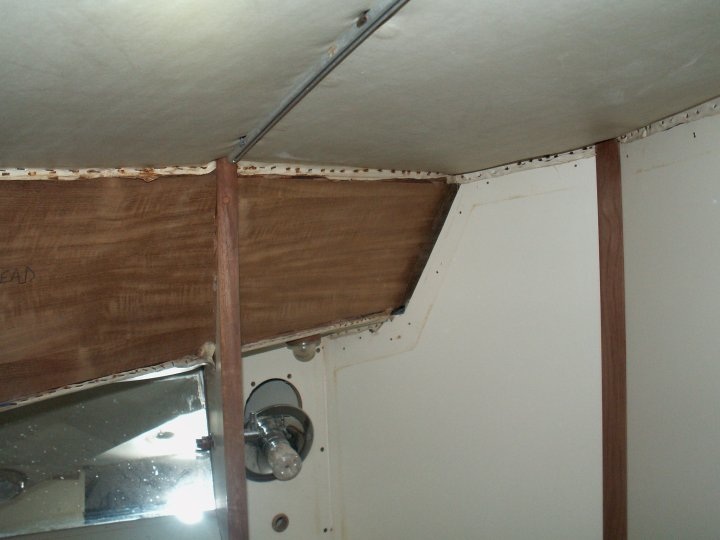
Old Veneer

We cleaned all of the teak. We then had to replace some of it after finding some rot in the plywood core. All of the settee sides and cabin sides got new teak veneer.
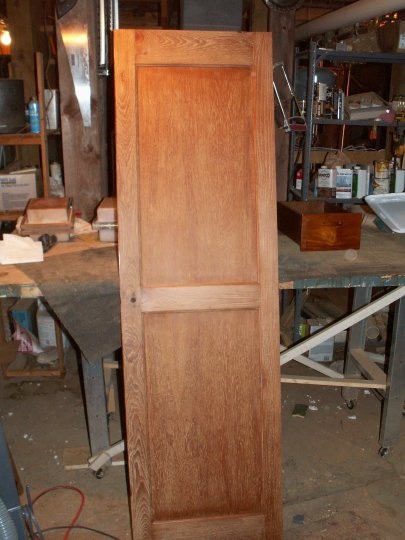
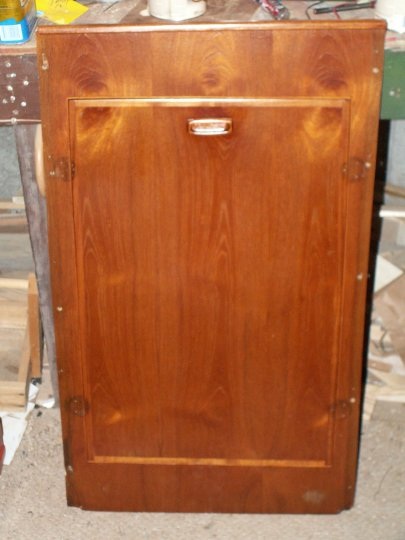
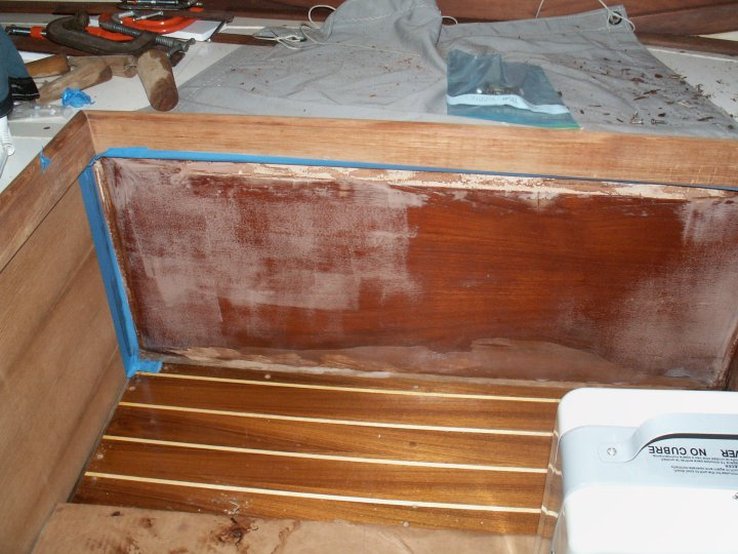
Strip wood
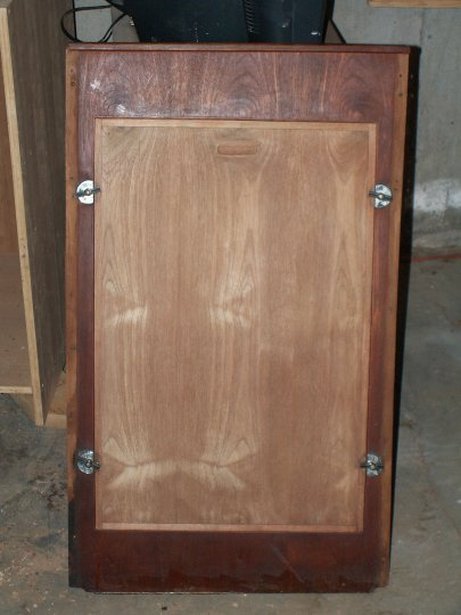
Here you can see the difference the cleaning and bleaching makes. Most of the teak trim and removable panels were brought into the basement to be stripped and sanded. We first used Captain John's Teak Cleaner to remove the years of accumulated teak oil. We then bleached the wood using a mixture of hot water, Tide and bleach. Mix 1/2 gal of water to 1/2 cup of Tide and 1/2 cup of bleach. Rinse with Hot water and let dry.

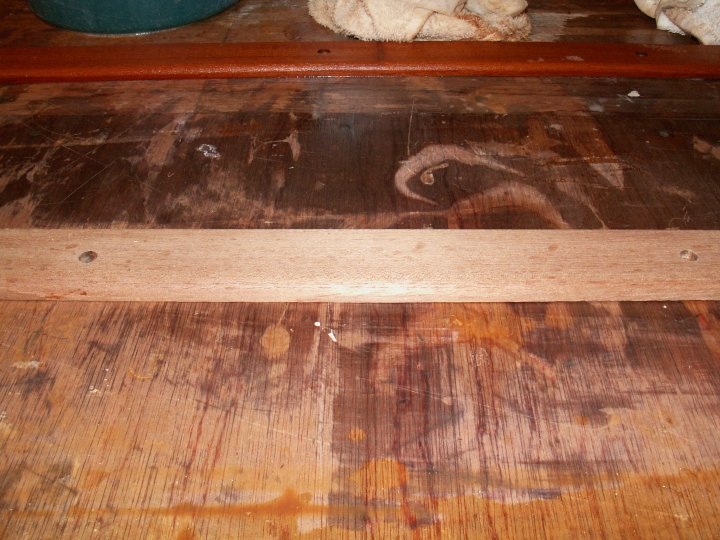
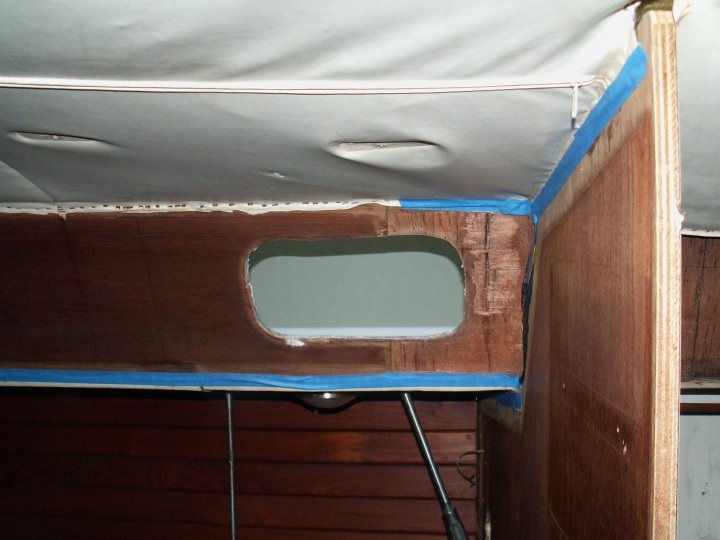
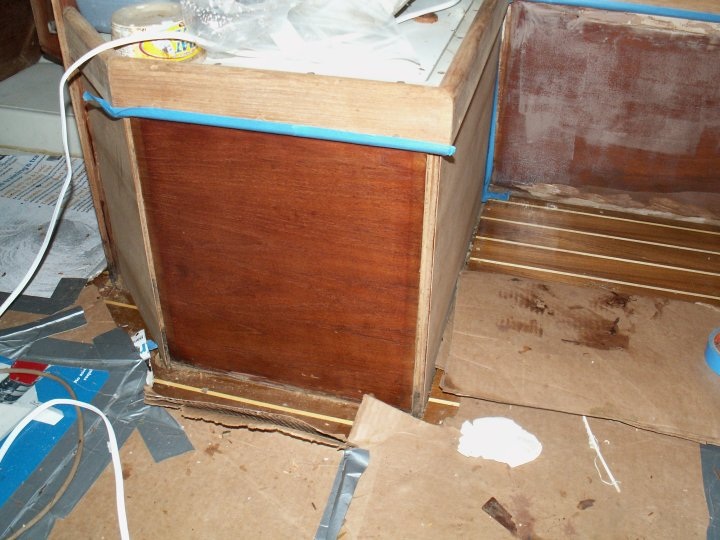
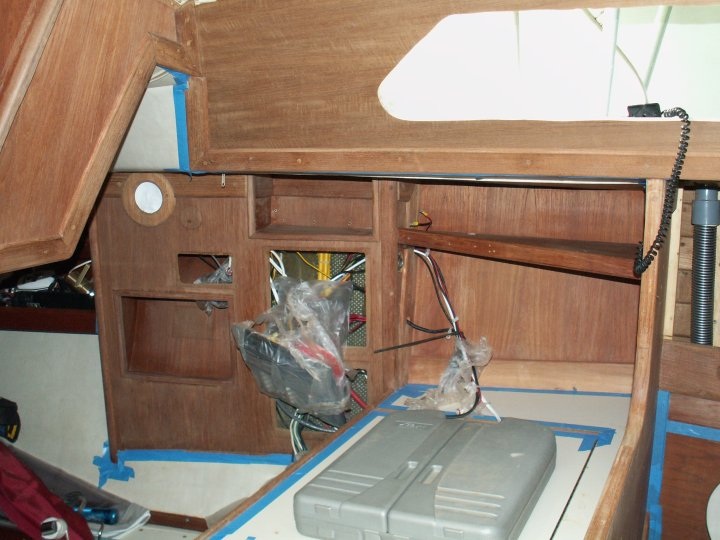
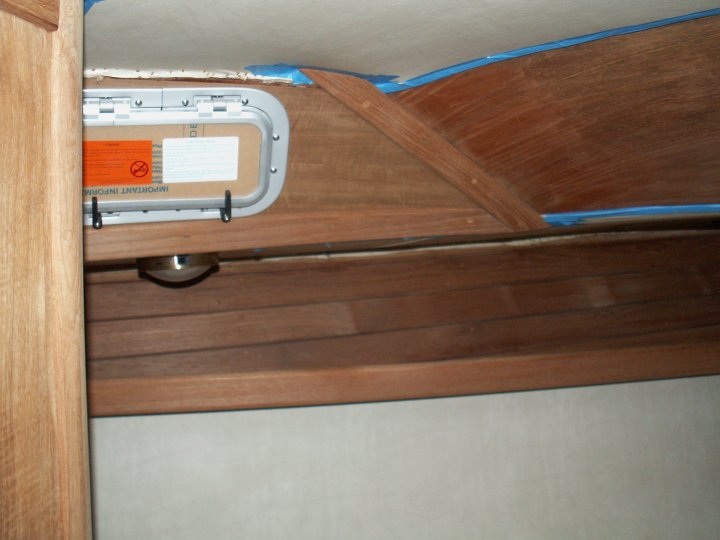
New Veneer
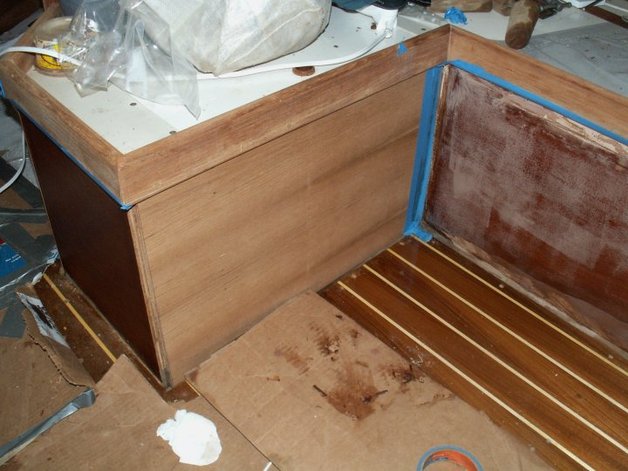
New veneer was glued over old where the old was too far gone or the substrate was rotten. I use heat Bond glue which worked great and was easy to use.
Applying the heat activated glue. This gets applied to both surfaces(2 coats).
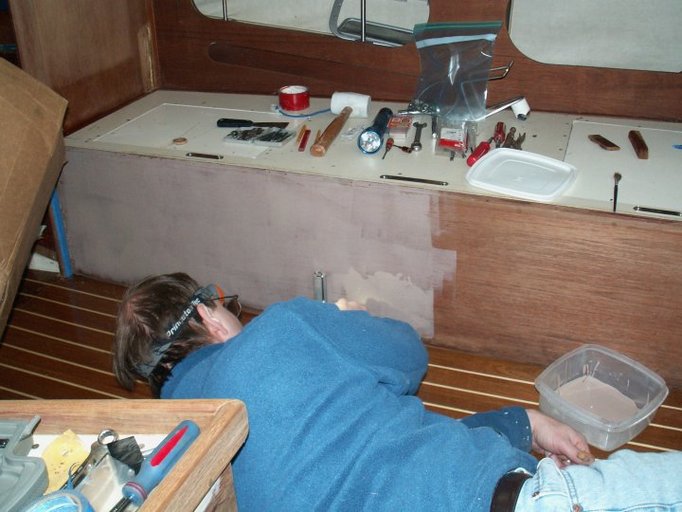
Once dry, the objects can be put together and still easily positioned. A steam iron will activate the glue.

Adhering the new veneer using a steam iron.
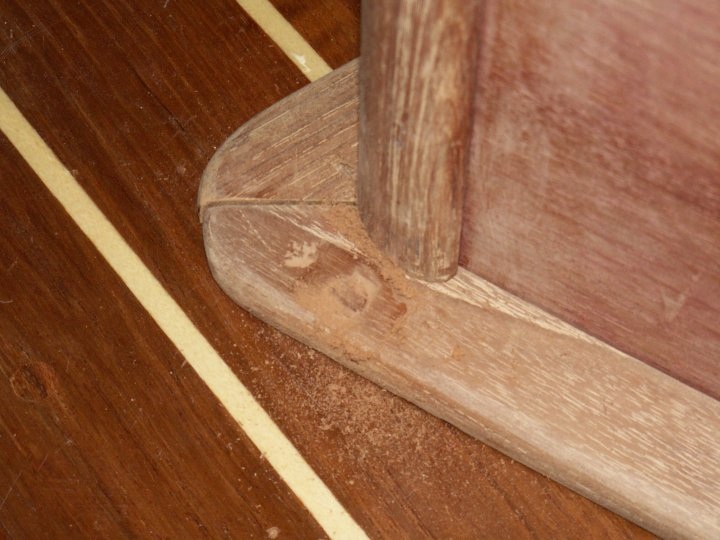
Cutting the Bungs
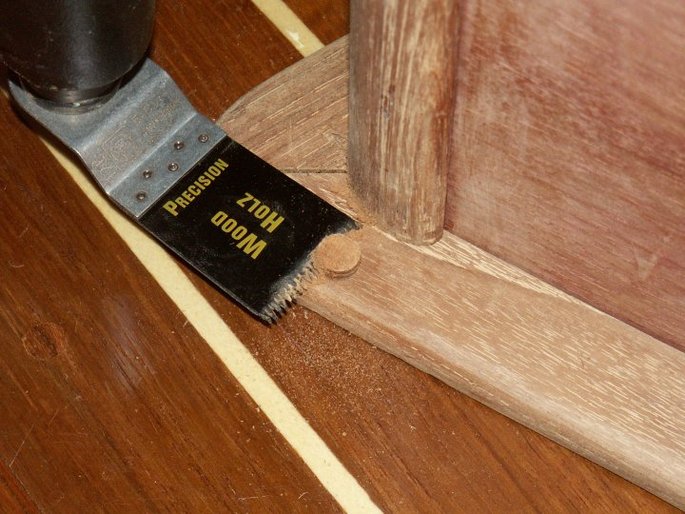
I used a Fein Multimaster to cut the bungs. Once mastered, this tool worked incredibly well. I had over 500 bungs to replace so finding a quick, effective way to cut them was a time saver.
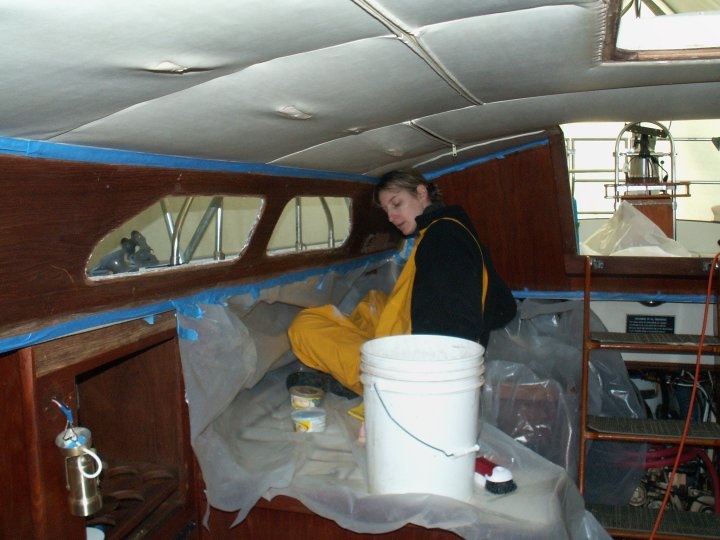
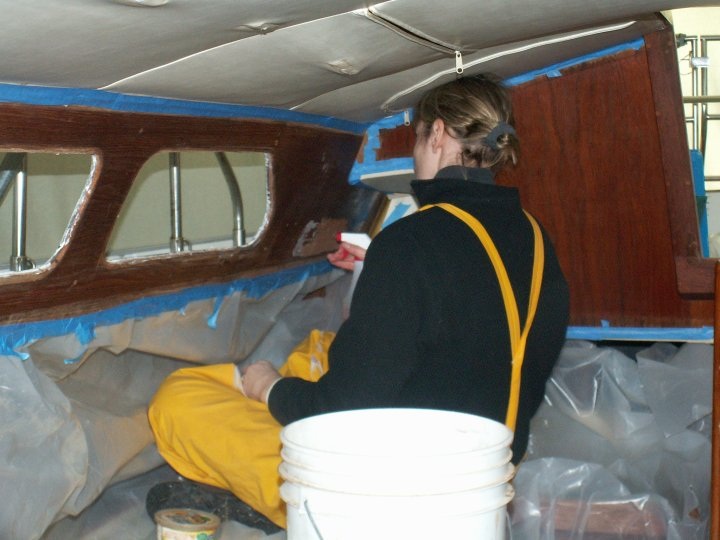
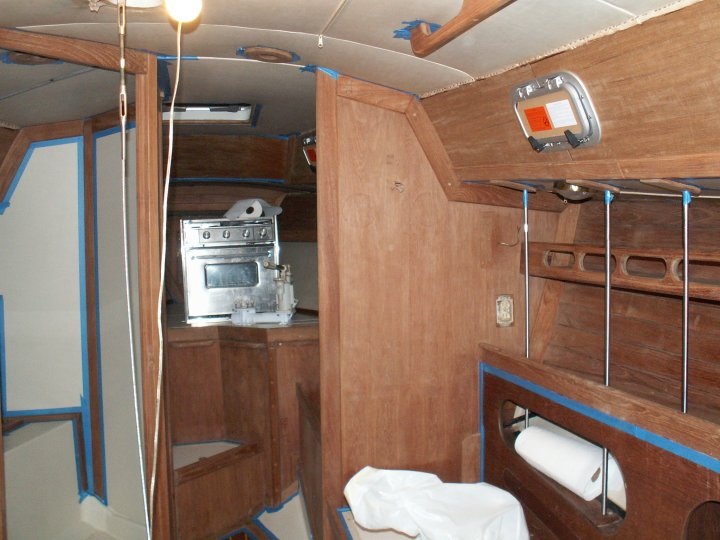
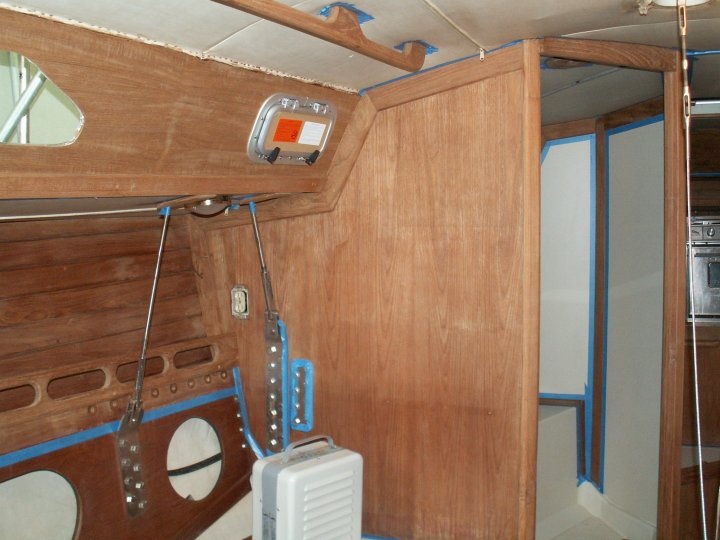
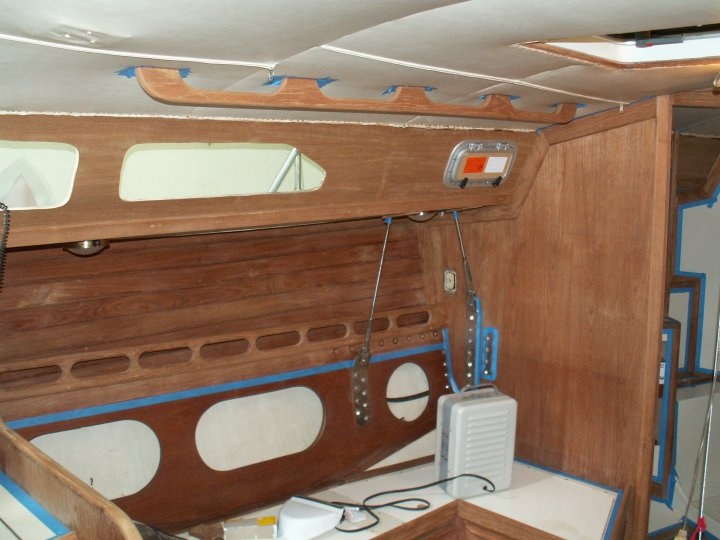
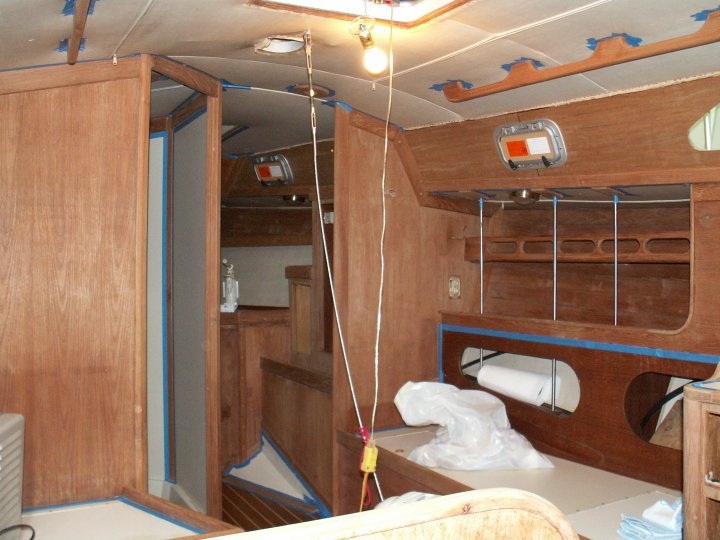
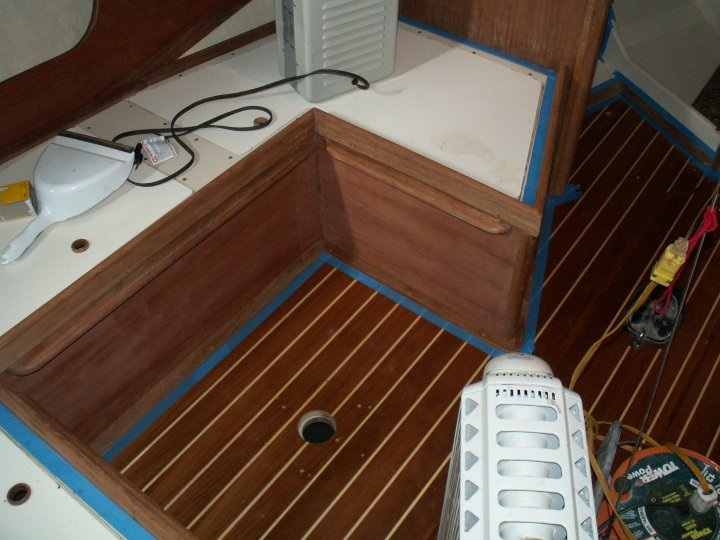
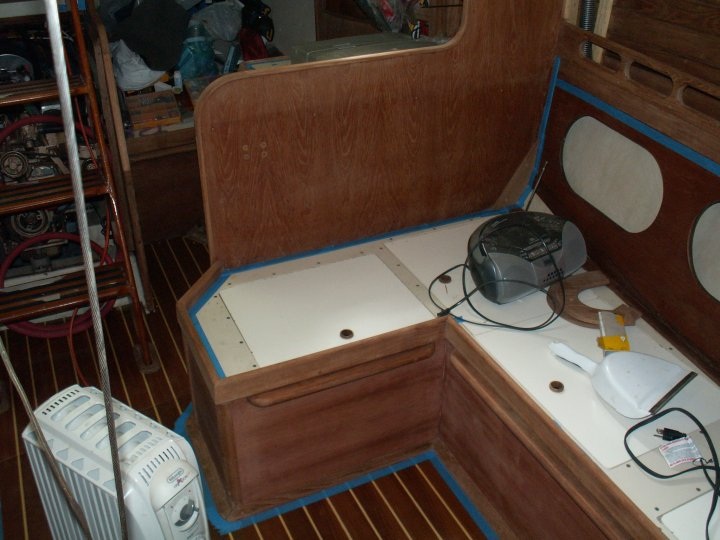
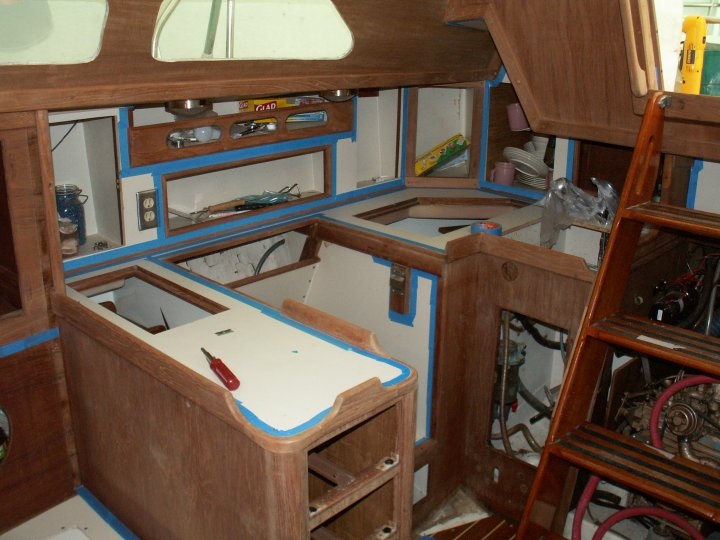
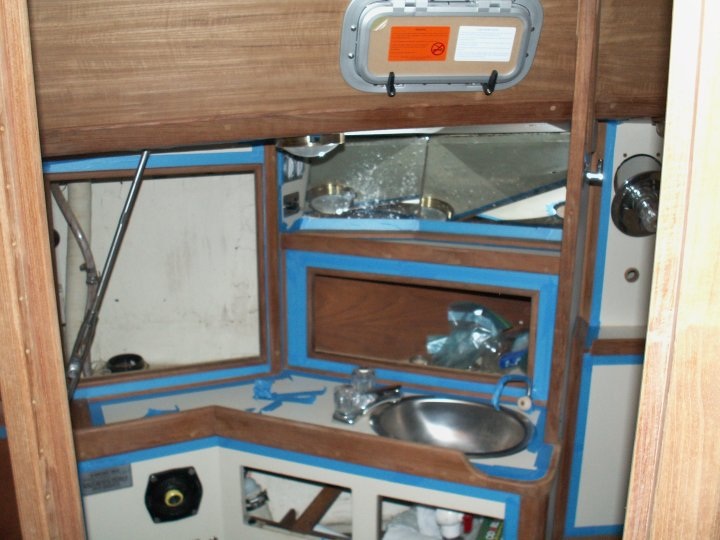
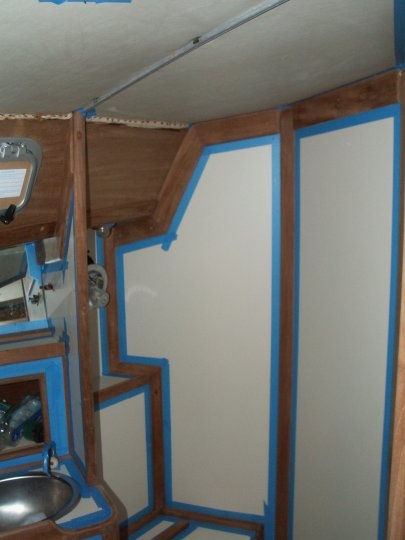
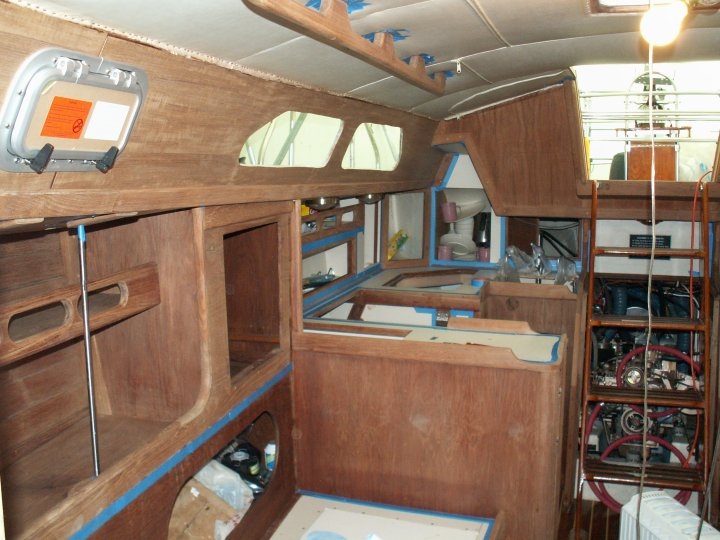
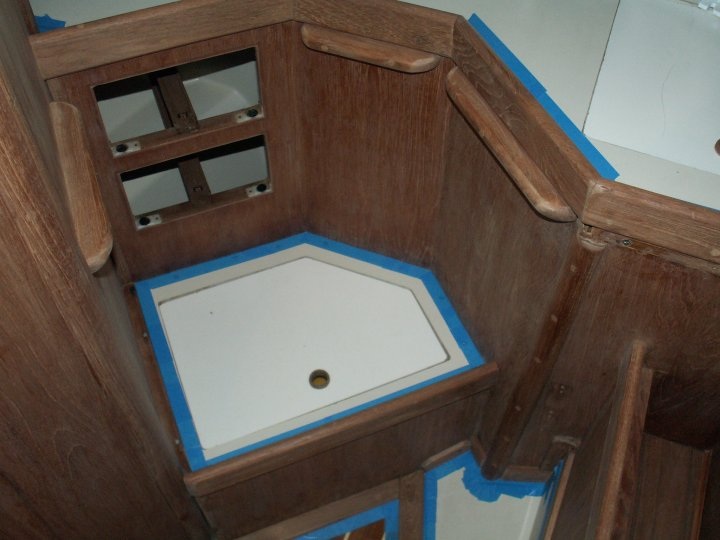
Ready for Varnish
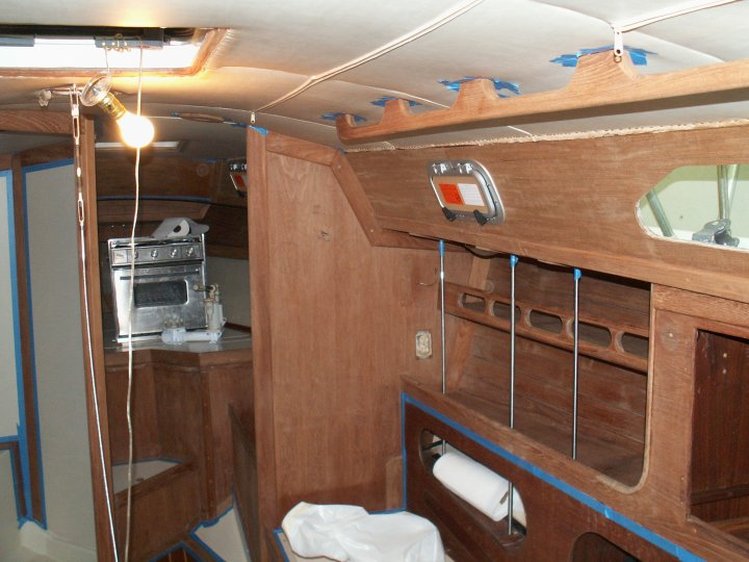
All of the old and new veneer is sanded and all the trim is screwed back in place with the bungs done. Masking took 2 of us most of a day.
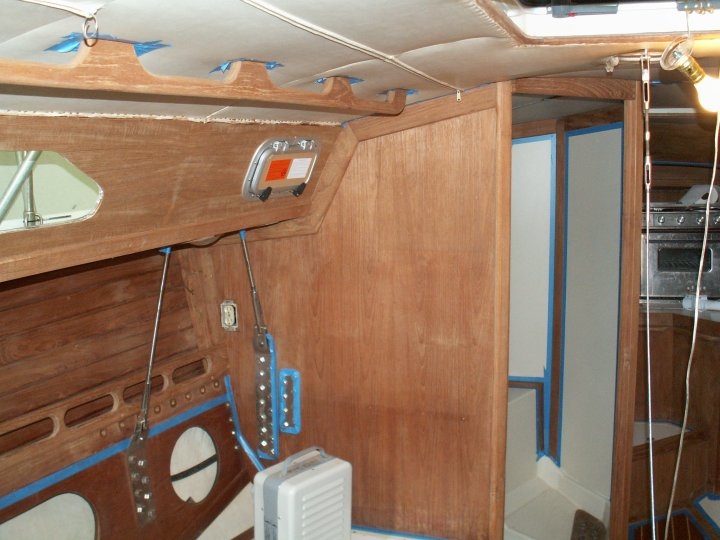
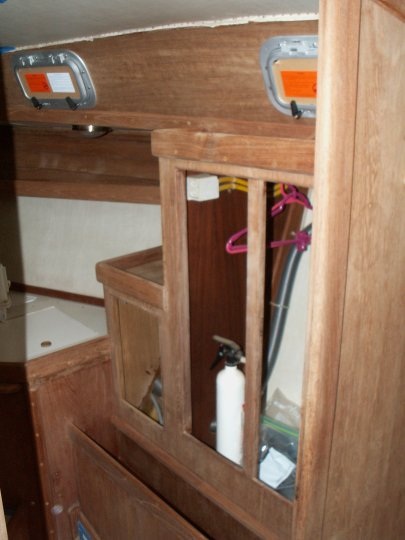
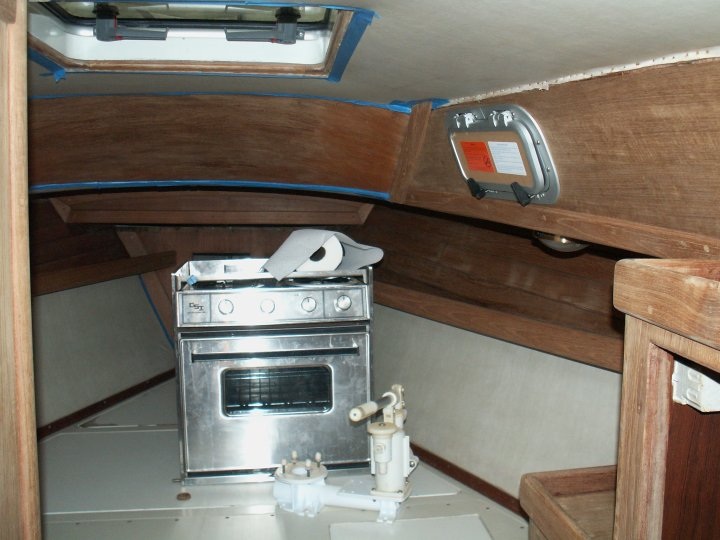
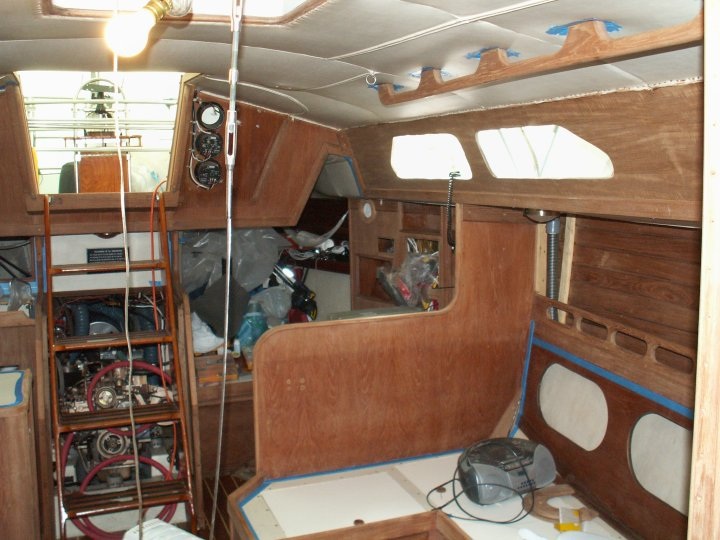
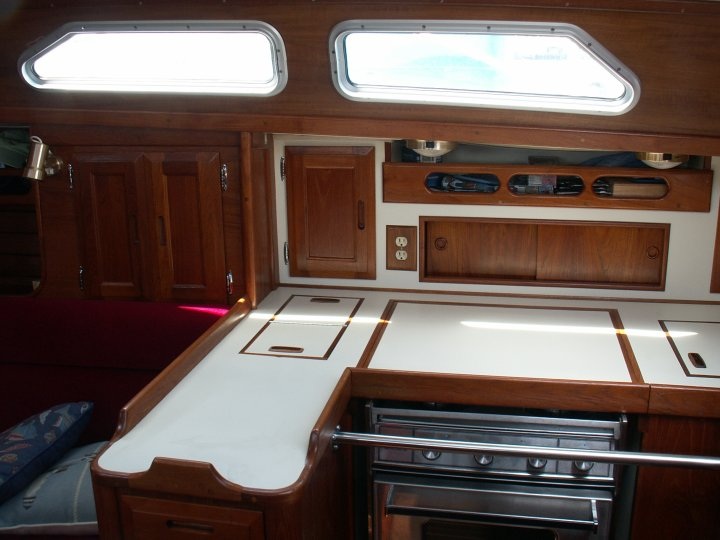
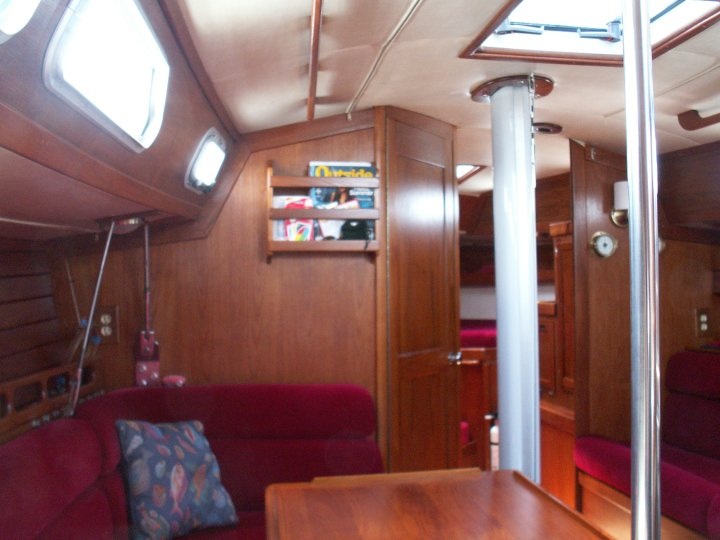
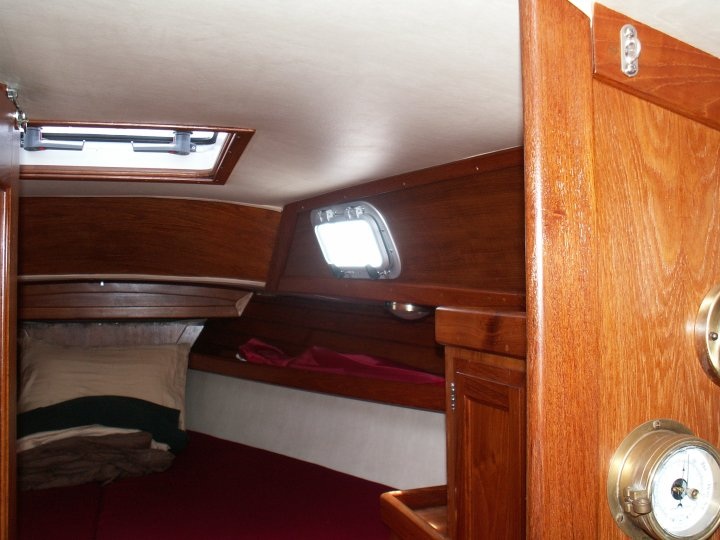
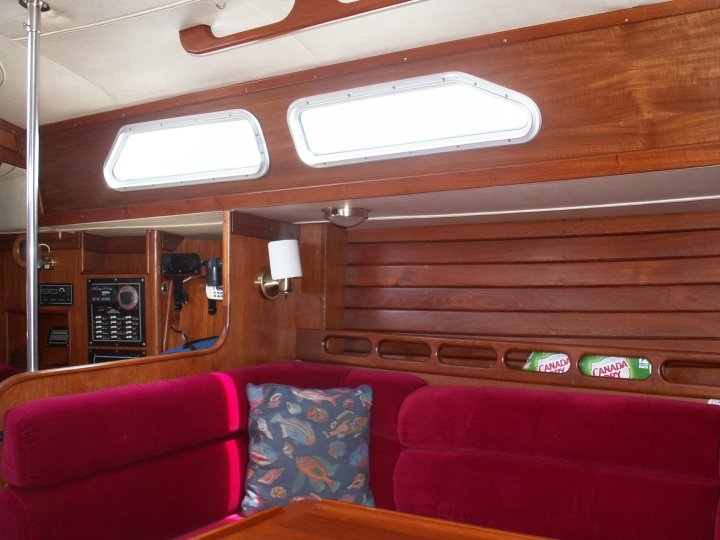
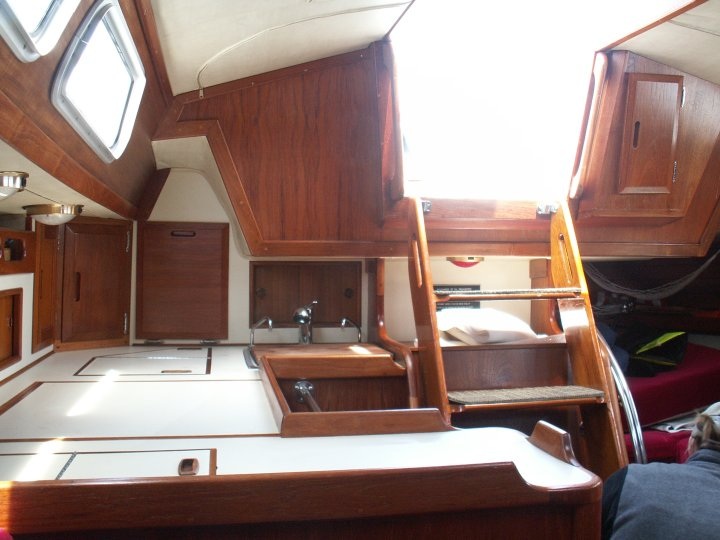
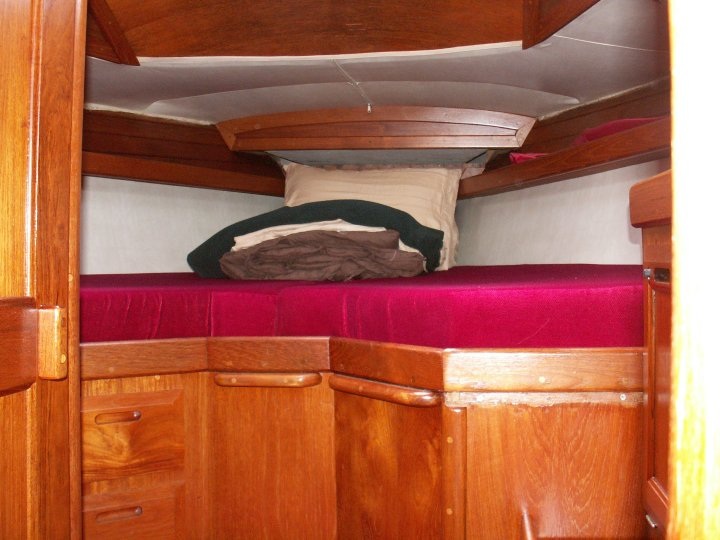
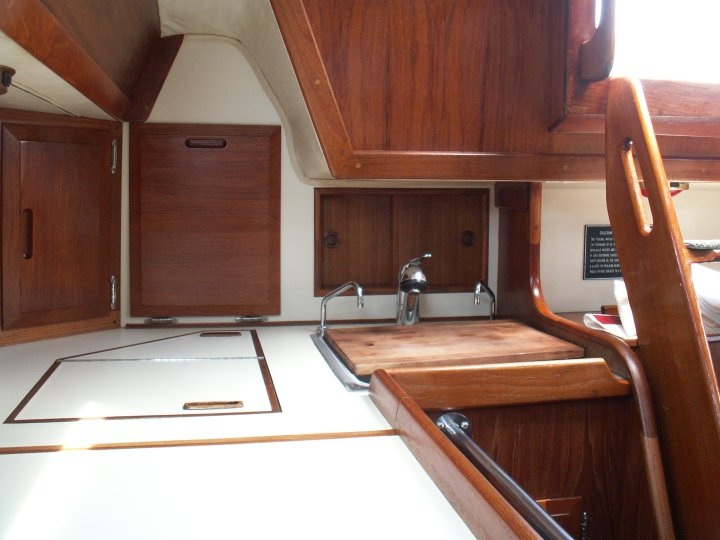
Done
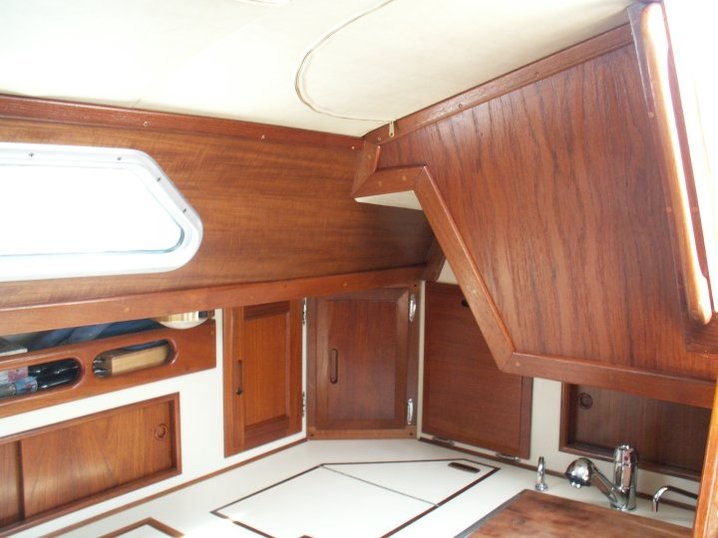
3 coats of varnish and the interior looks great. Some places need a little sanding and another coat.