Traveler Upgrade
When we purchased our boat last August it came with the traveler end-stops that incorporate the cam cleats. This required leather patches with slits in the front of the dodger. One of them had been repaired and was quite large which partially obstructed our view forward. I found an older harken dodger kit(part #1892) that I was able to purchase very cheaply. See the photos for more details.
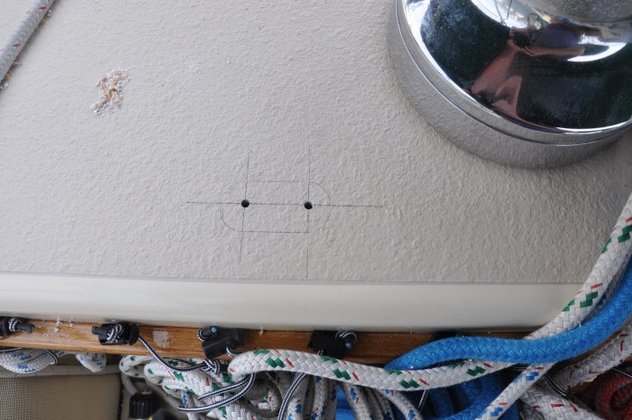
Here you can see the crosses I marked to properly redrill the holes after they have been potted.
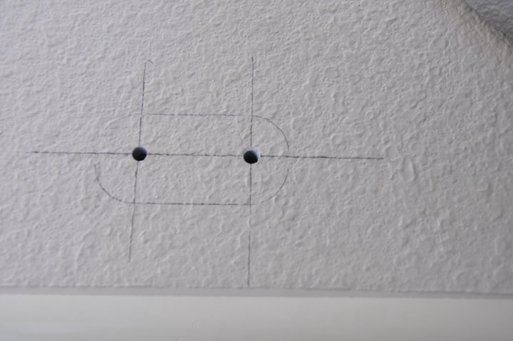
Here you can see the crosses I marked to properly redrill the holes after they have been potted.
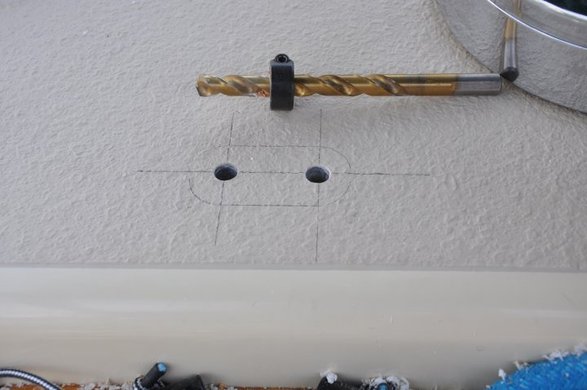
I drilled the holes oversize in order to fill with thickened epoxy. The bit depth is set so I do not drill through the inner skin. I then filled and re-drilled the holes for the fasteners. This will prevent any core rot should the seal under the cleat fail.
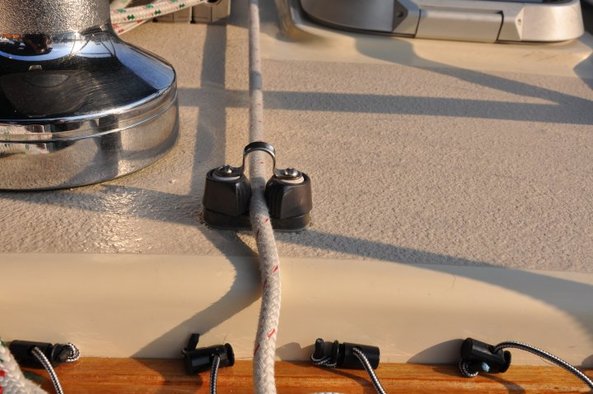
The cleat was then bedded with Butyl tape to seal out any moisture intrusion.
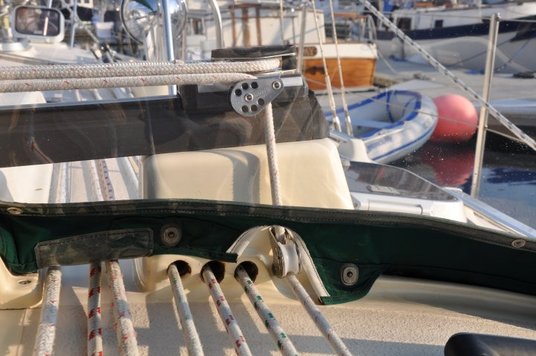
I through drilled the traveler tower to allow for mounhting the stand-up block in order to route the line under the dodger. The dodger was also modified to allow for the block and line. I also installed the dodger block kit on the traveler end stops. This required removing one block and inserting the plate that holds the cheek block.
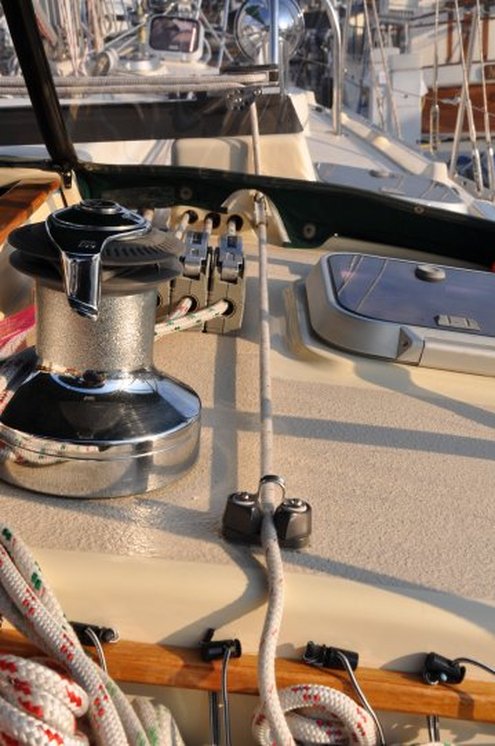
The result is an easy to use cam cleat that can be handled in the front of the cockpit or the lines can be led to the helmsman.