Refinish Mast
The painted mast and boom on my 1985 Ericson 35-3 were looking pretty tired when I purchased the boat in 2006. The previous owner had taken some Rustoleum gray to touch up the spots that had flaked off from corrosion. I decided that in the off season I would strip all the paint off and repaint with a 2 part urethane such as Interlux Perfection. Luckily the basement of my house is just about 2 feet longer than my mast so I was able to do all the work indoors. This is not critical until it comes to painting which absolutely needs to be in a controlled environment. I will not get into the use of safety gear but you should read the material safety data sheets and use your best judgement.
Any successfull painter worth his salt will tell you that the key to a great paint job is preperation. If you are willing the take the time and are good at following directions than this article is for you. For everyone who wants it done fast with little effort, get out your checkbook and go see your local boatyard. The procedure I outline below can be done mostly with common tools you can get at your local big box stores. All the painting is done using the roll and tip method so no spraying is necessary. I wanted to be alive to enjoy the finished product! This is not to say you do not need a good respirator with an organic filter and plenty of ventilation in your workspace.
Any successfull painter worth his salt will tell you that the key to a great paint job is preperation. If you are willing the take the time and are good at following directions than this article is for you. For everyone who wants it done fast with little effort, get out your checkbook and go see your local boatyard. The procedure I outline below can be done mostly with common tools you can get at your local big box stores. All the painting is done using the roll and tip method so no spraying is necessary. I wanted to be alive to enjoy the finished product! This is not to say you do not need a good respirator with an organic filter and plenty of ventilation in your workspace.
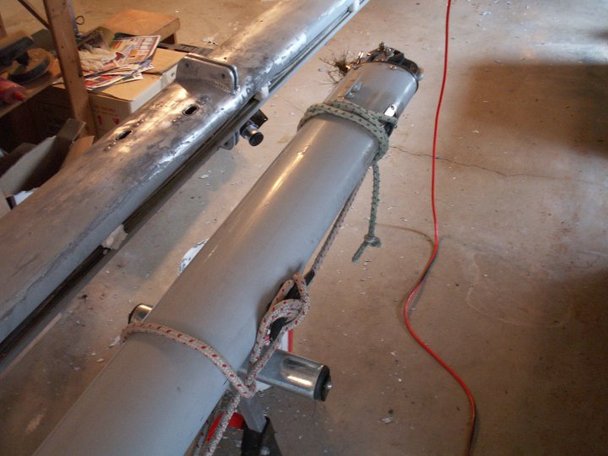
First we need to remove all the fittings from the mast. I photographed the location of all the blocks, cleats, tracks, etc. to ensure that reassembly would be easy. I was lucky in that all the SS screws came out without any of them breaking or taking the threads with them. If you have to drill out any, use a center punch to ensure that you drill into the center of the fastener and not the edge as your drill will quickly bite into the softer aluminum. This is an excellent opportunity to do some maintenance. Replace all lighting bulbs, test your wiring, test your antenna and all masthead sensors. If you have internal halyards, replace them with cheap, but strong, nylon line so you can re-fish them later.
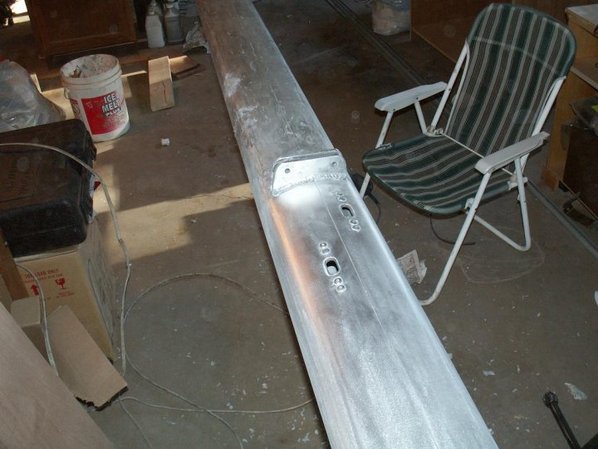
Next it is time to strip all the paint off the mast, boom and spreaders. I used Klean Strip KS3 Premium stripper from a big box home center. It is about $20/gal. 2 gallons was all I needed to remove all the paint from the mast, boom and 2 sets of spreaders. Apply the stripper and let set for 30-60 minutes. The key to paint stripper is to apply using a single brush stroke laying down a thick layer of material. Do not brush back and forth. The paint will bubble in some places and do nothing in others. Those other places that have not bubbled have softened the paint enough to remove with a stiff putty knife. You will quickly learn the proper technique. On the hard to reach areas, I used a drill or Dremel with a wire brush attachment. After the majority of the paint is stripped, wash the aluminum with soap and water. Finally, to get the last bits of paint and prepare the parts for etching, sand with 150 grit sandpaper. I used a Porter Cable 6 inch DA sander with a vacuum attachment.
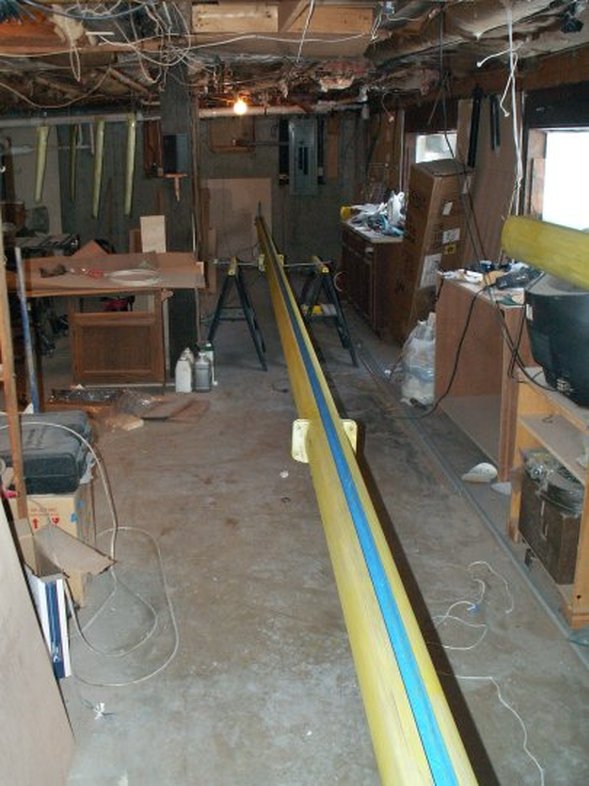
You should now have a nice clean mast/boom/spreaders. Mask any areas not to be painted. After a final sanding and wash, prepare the surface for a thin coat of Interlux Vinylux Primewash. Follow the preparation, mixing and application instruction on the can. After the Primewash dries, fill any voids such as unused holes, pitting or deep scratches.
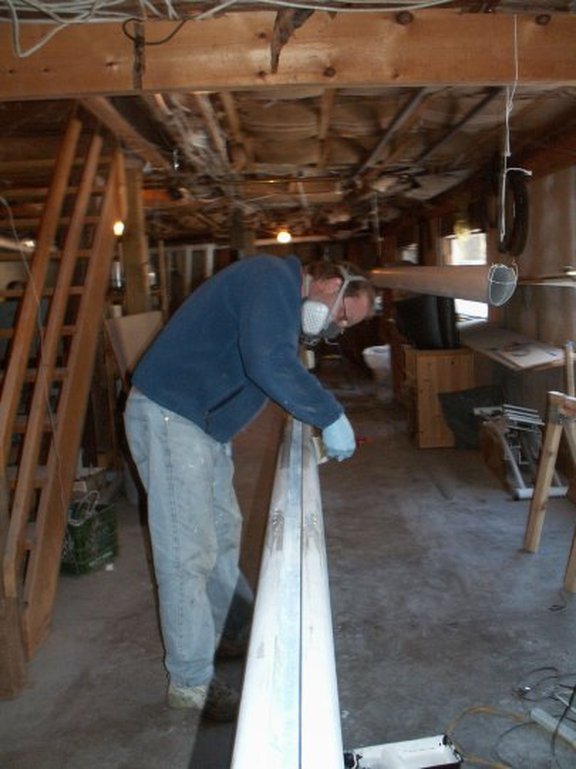
I used thickened West System epoxy(mixed to a peanut butter consistency). Sand the filler being careful not to sand off any of the Primewash. Wipe down with Interlux 2333N and apply your first coat of Interlux Epoxy Primecoat.
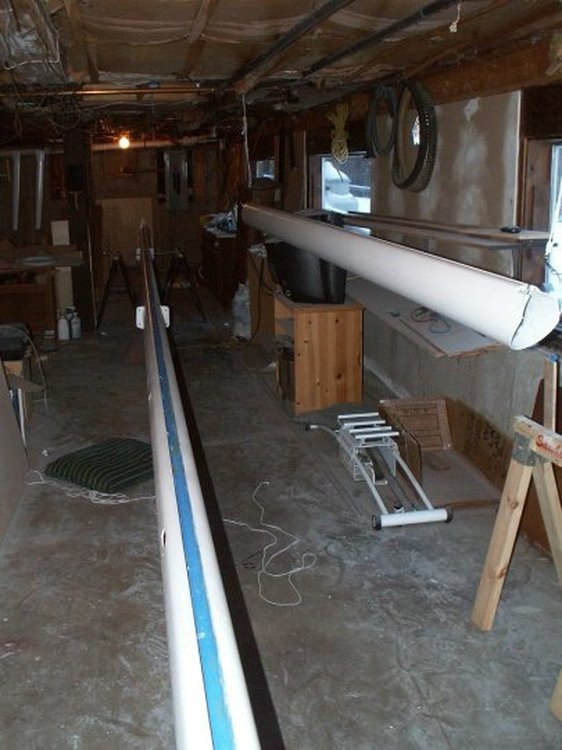
Now it is time to start making the parts smooth. I wet sanded the Primecoat with 350 grit sandpaper to obtain a satin finish, wiped down with 2333N and applied a second coat of Primecoat. Wet sanded again to a satin finish. Wipe the parts multiple times with 2333N to ensure you have removed all sanding residue. When wiping, do not go back and forth. Wipe in one direction and turn the cloth to a clean area to make the next wipe. Microfiber rags work great for this final wipe-down.
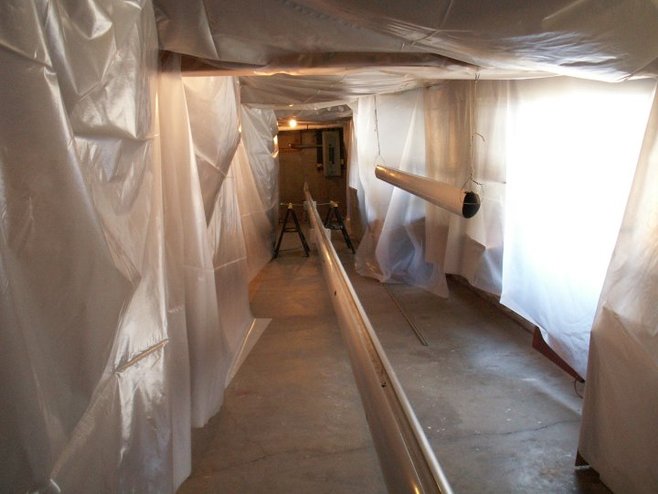
For a great finish, it is essential to control the environment in which you will be painting. My basement is a steady 50 degrees in the winter with fairly mild humidity but it is an old house and has a ton of spider webs and dust overhead. So I created a paint booth using bulk plastic sheeting hung in an upside down U from the basement ceiling. I also wet the concrete floor to keep the dust down while painting.
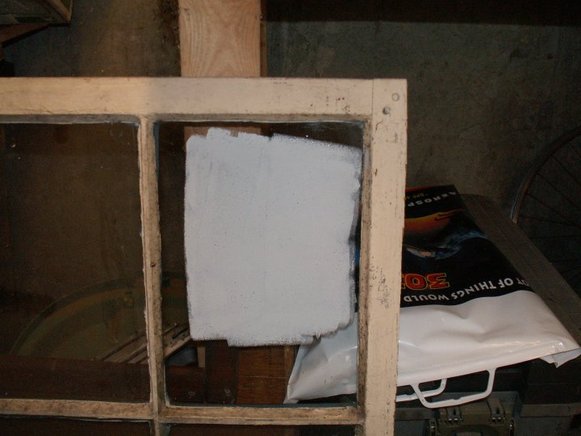
It took between 1/2 and 1 quart of Perfection to cover my 55 ft. mast, 11 ft. boom and 4 spreaders. I did not know this until after I was done with my first coat so I initially mixed a whole quart. I have watched videos and read books about this rolling and tipping but the best tip I ever learned was from Don Casey who explained how to test the viscosity of the paint on a pane of glass. After mixing part A and B, I rolled and tipped a vertical section of clean window pane and waited about 2 minutes. You have to wait in order to see how the paint flows out. After 2 minutes I still had brush marks so I wiped off the glass and added some 2333N(1/4 to 1/2 ounce at a time). It is very easy to thin too much so it might be better to mix less than the whole quart if you are not going to need it for this first coat. This way you can add some back to your mix if needed. I rolled and tipped the glass again and waited. This time less brush marks but still not flowing enough. A little more thinner and another test area on the glass. This time all the brush marks flowed out to a glossy uniform surface without any runs or sags.
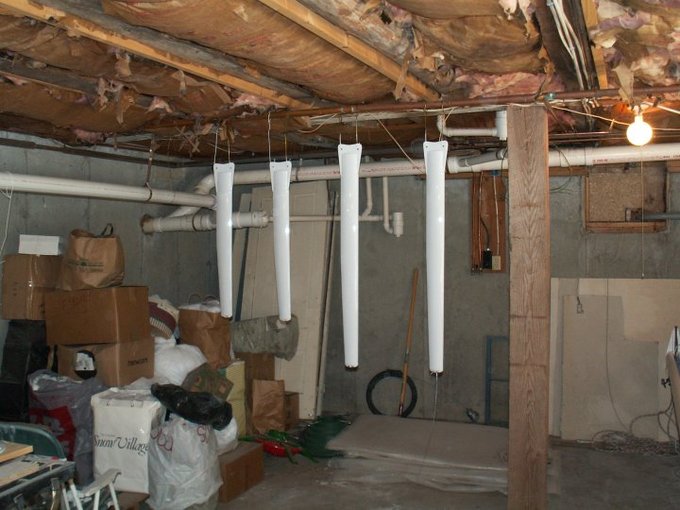
Time to paint. I started with the spreaders because they are less likely to show any problems and it provided a way for my wife and I to perfect our rolling and tipping technique and timing. We then moved on to the top of the mast and worked our way down.
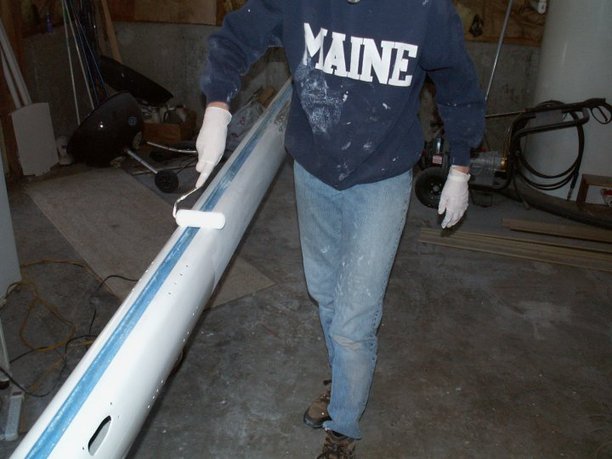
She would roll out a section about 3 ft. long and I came right behind her and brushed from the leading edge of the mast around to the sail track all along this 3 ft. section. I then brushed the 3 foot length of the mast always leaving a wet edge. As I tipped, she rolled the next section.
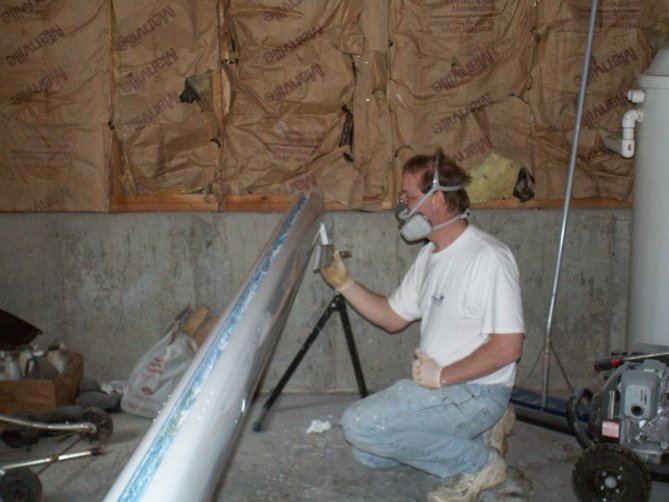
I found I obtained the best results by holding the brush at a 45 degree angle with the tip slightly wet with paint but not too wet. Apply light pressure. If the brush starts to drag, clean it with some thinner. After allowing the first coat to dry I wet sanded with 400 grit paper to get back to a satin finish and wiped with 2333N. We applied a second coat using the same technique as the first.
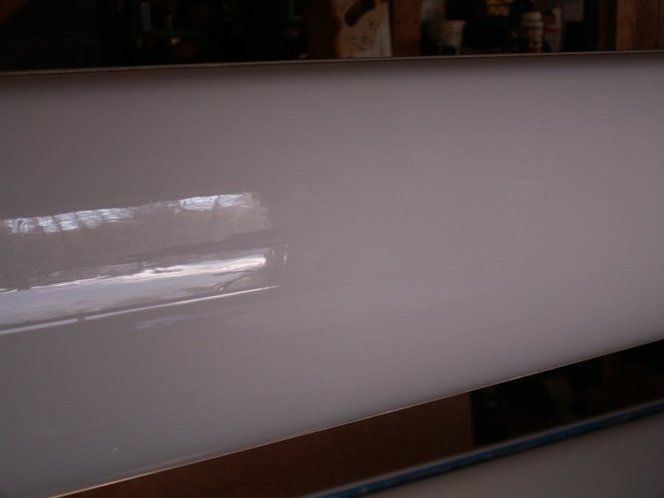
This project was a lot of hard work but when we saw the results, we both agreed it was well worth it. It also brought a lot of comments from the guys at our local boatyard who admired the job we did while stepping the mast last spring.
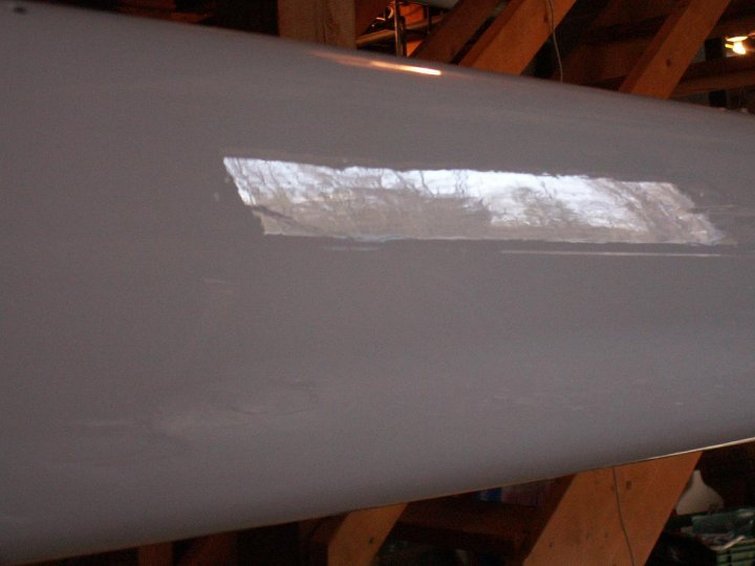
Finished.